.png?w=2048&h=583)
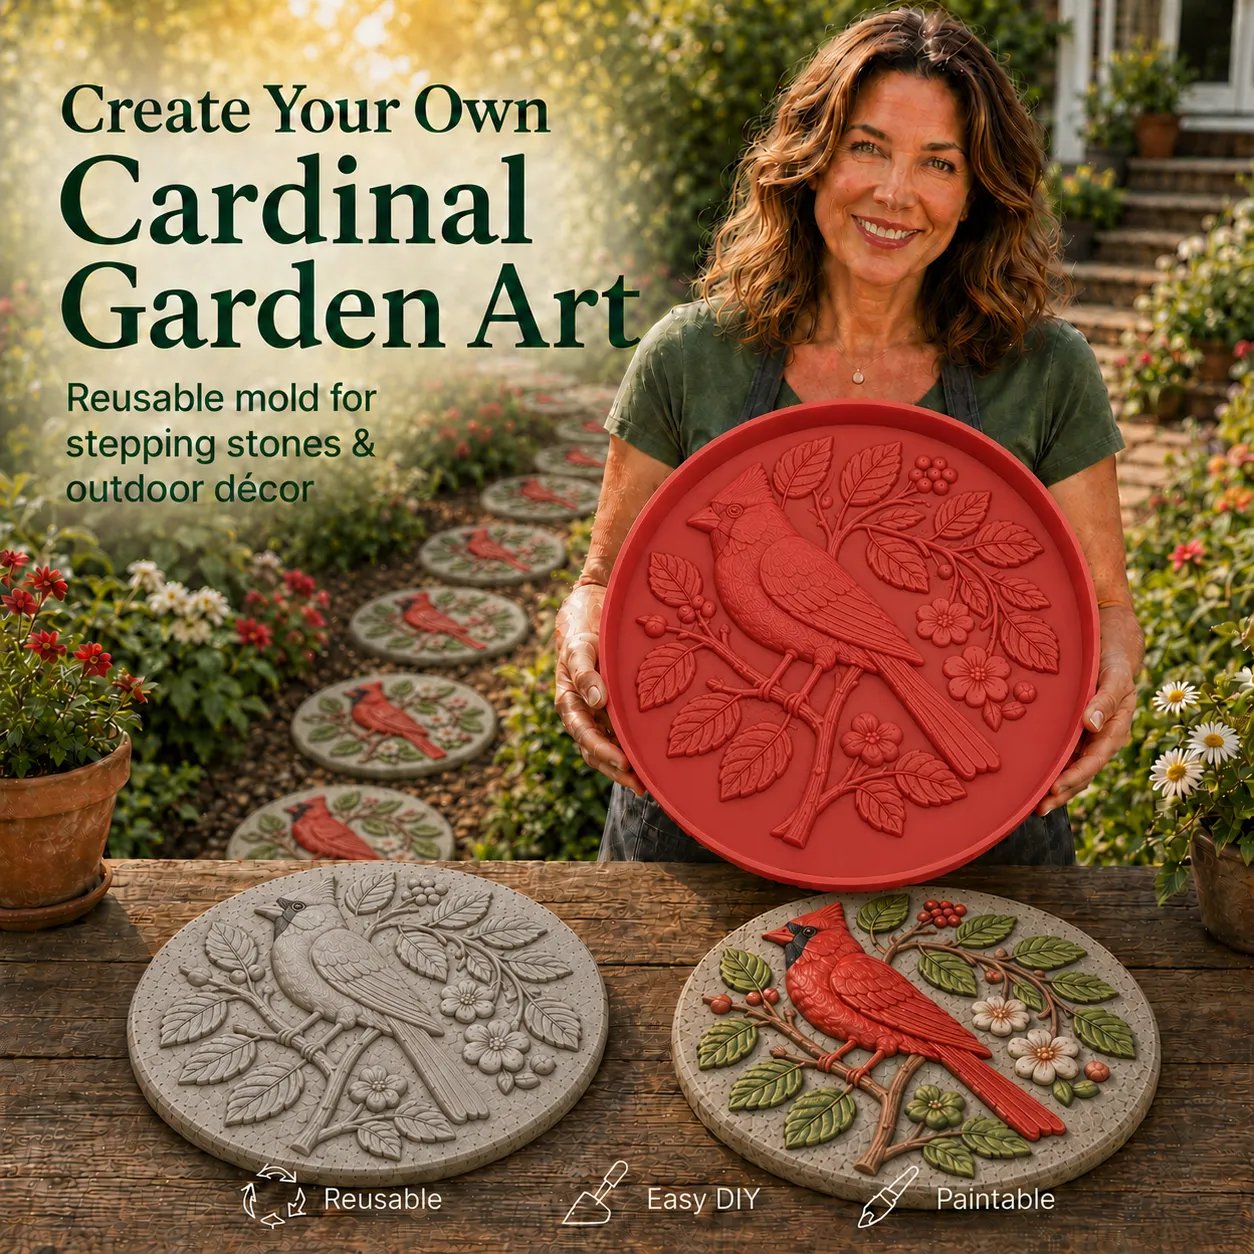
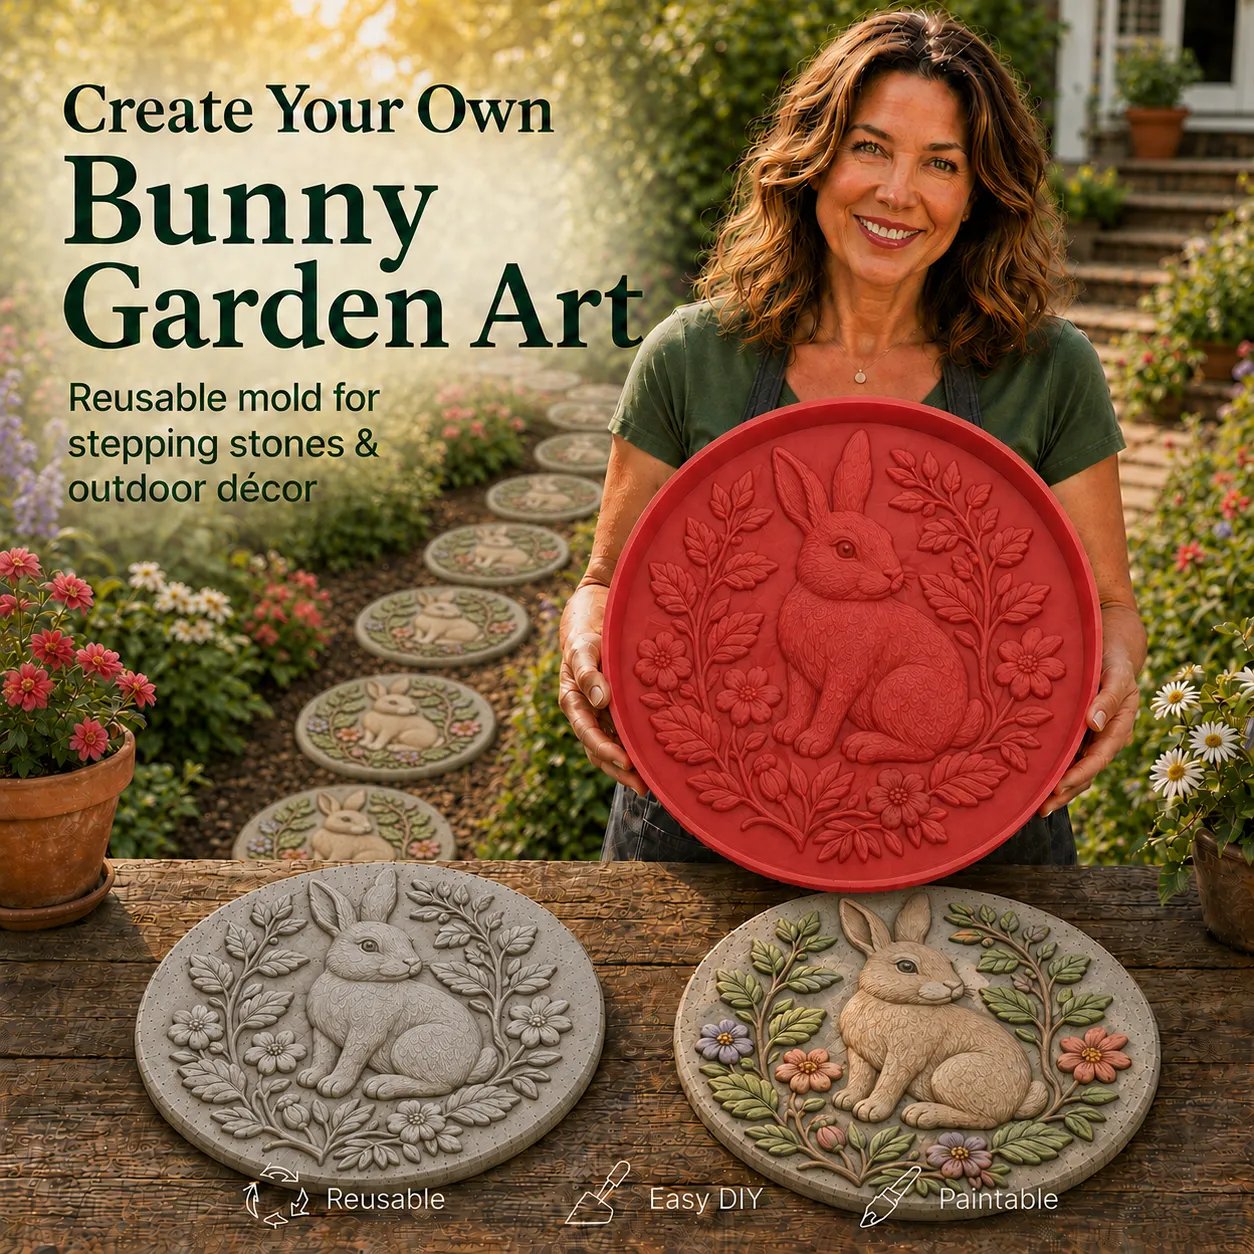
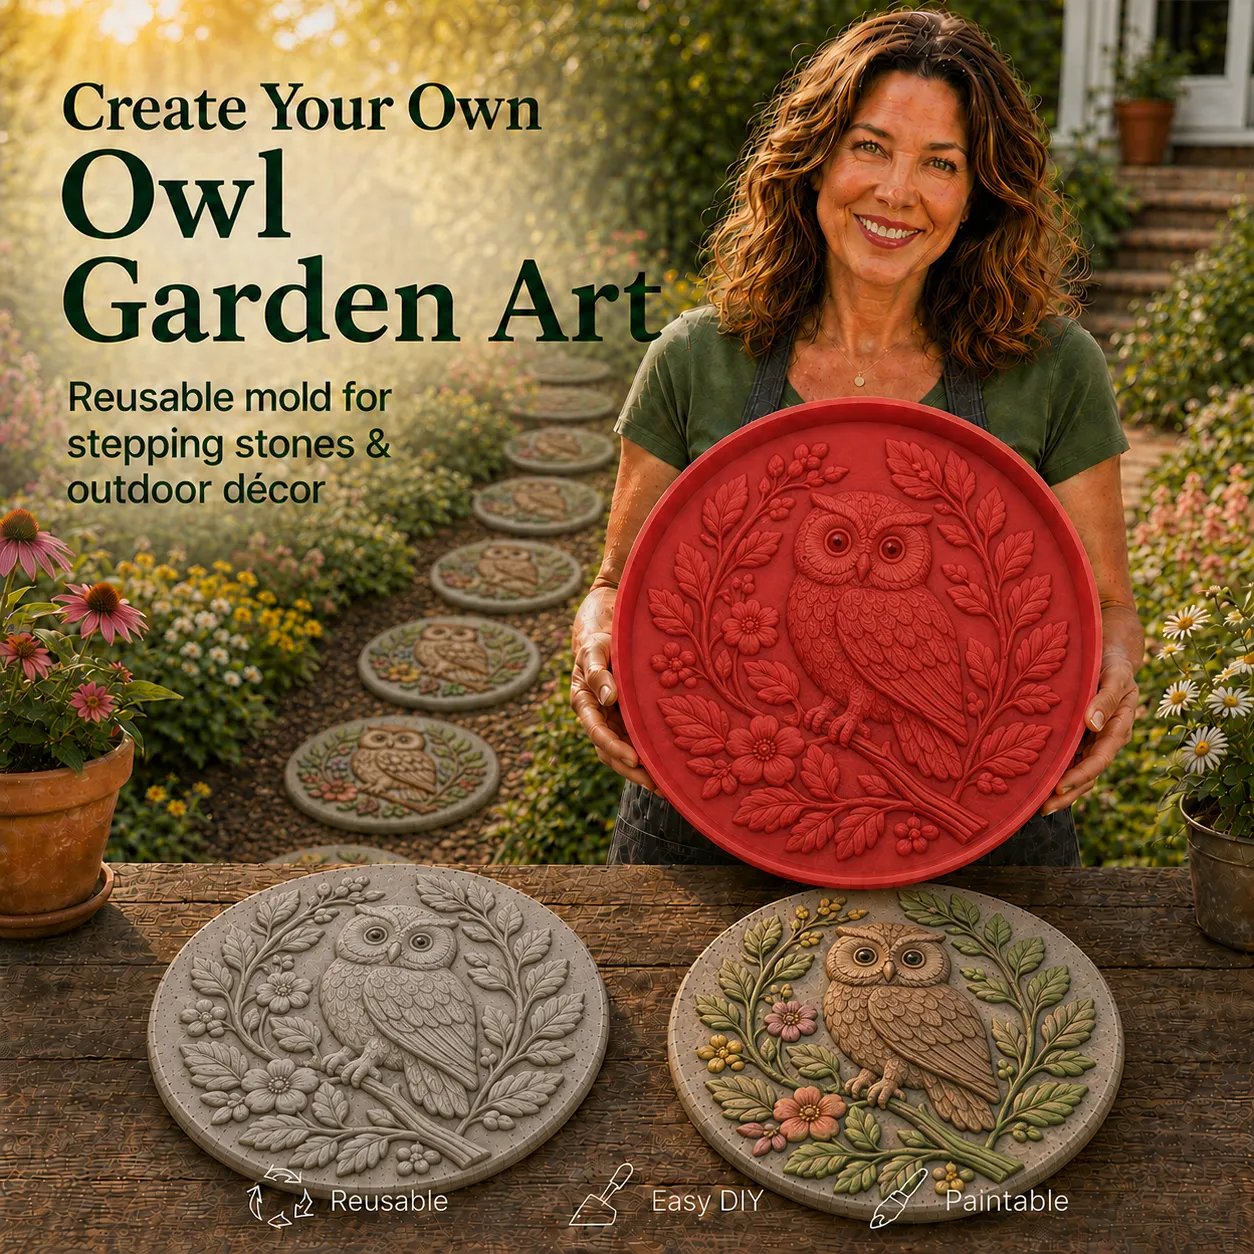

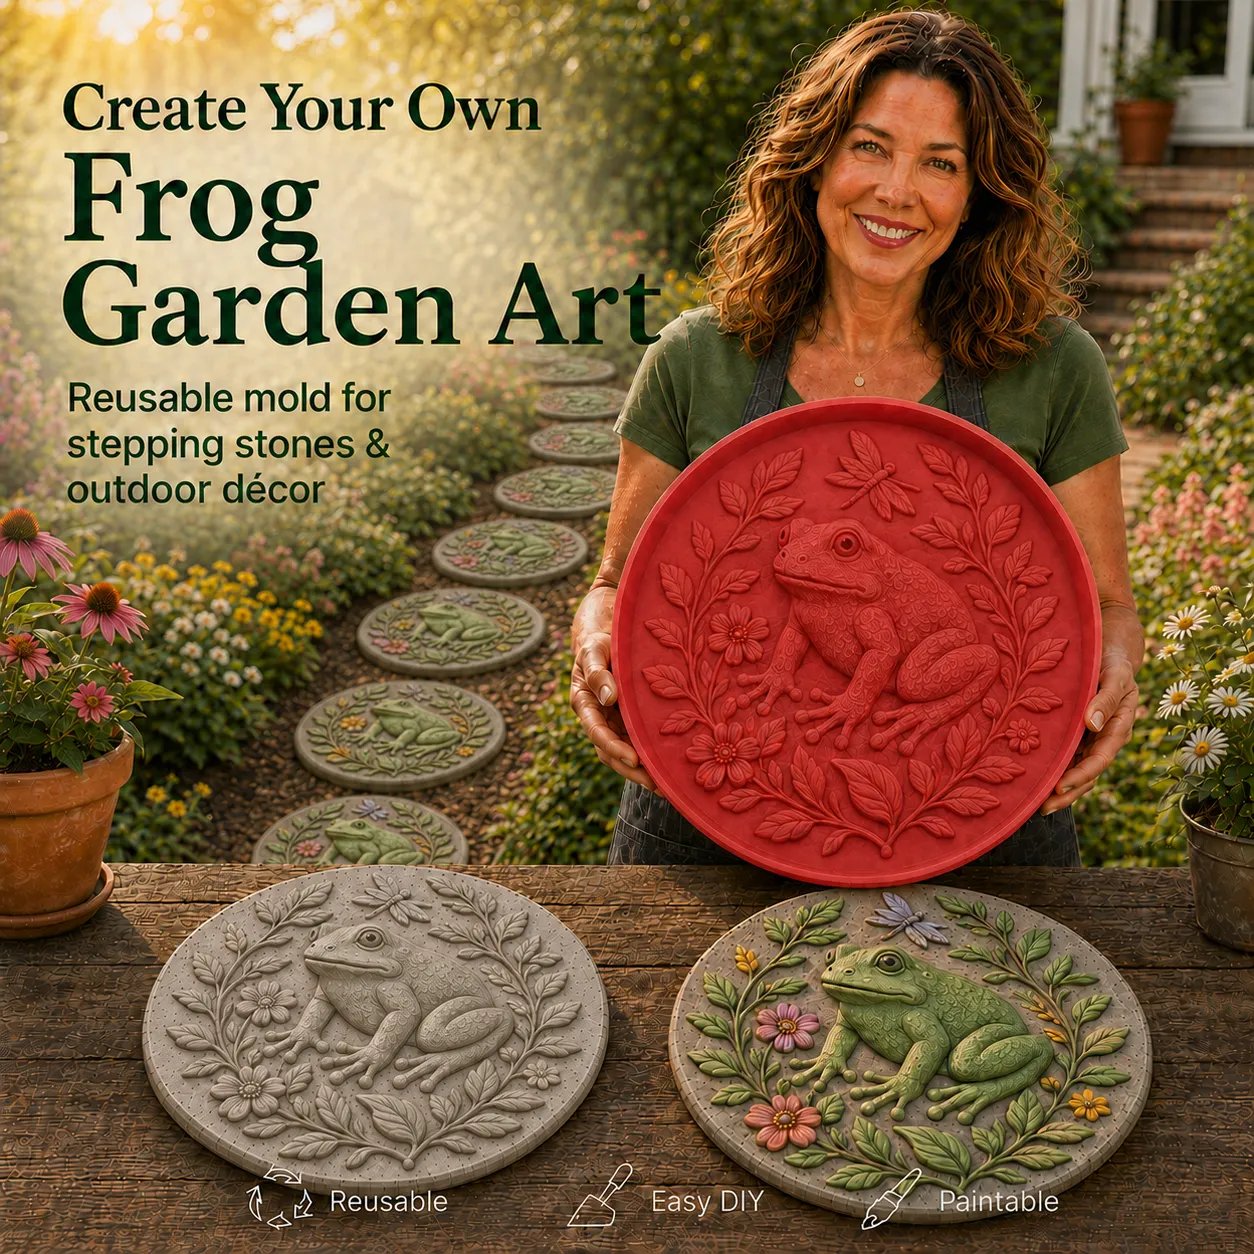
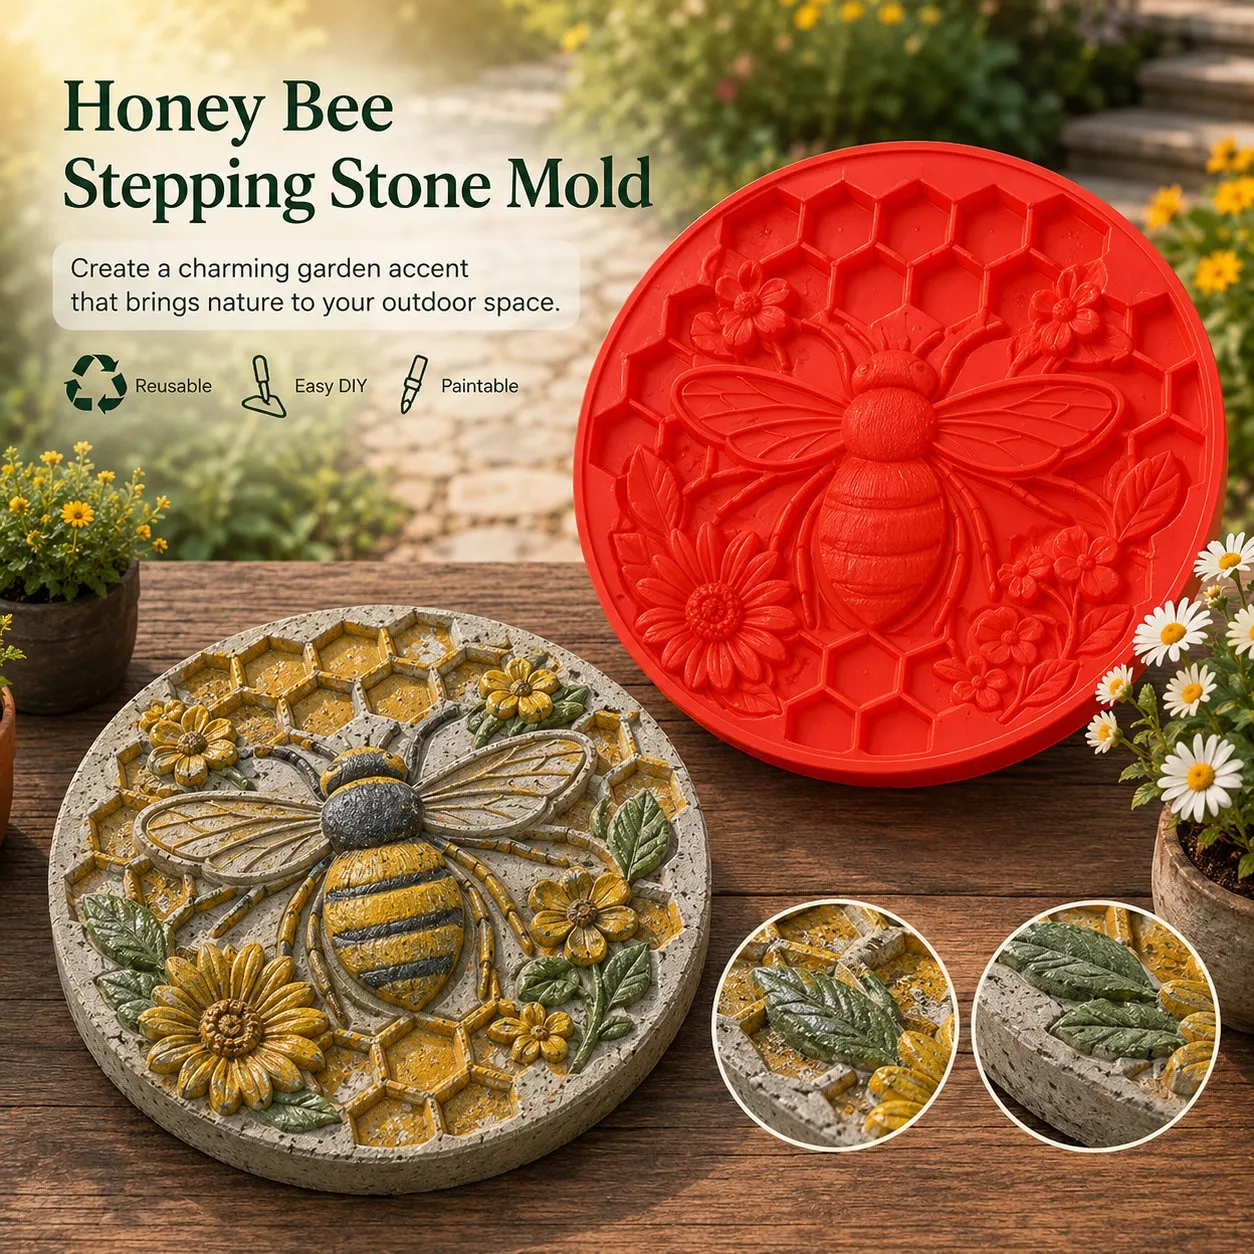
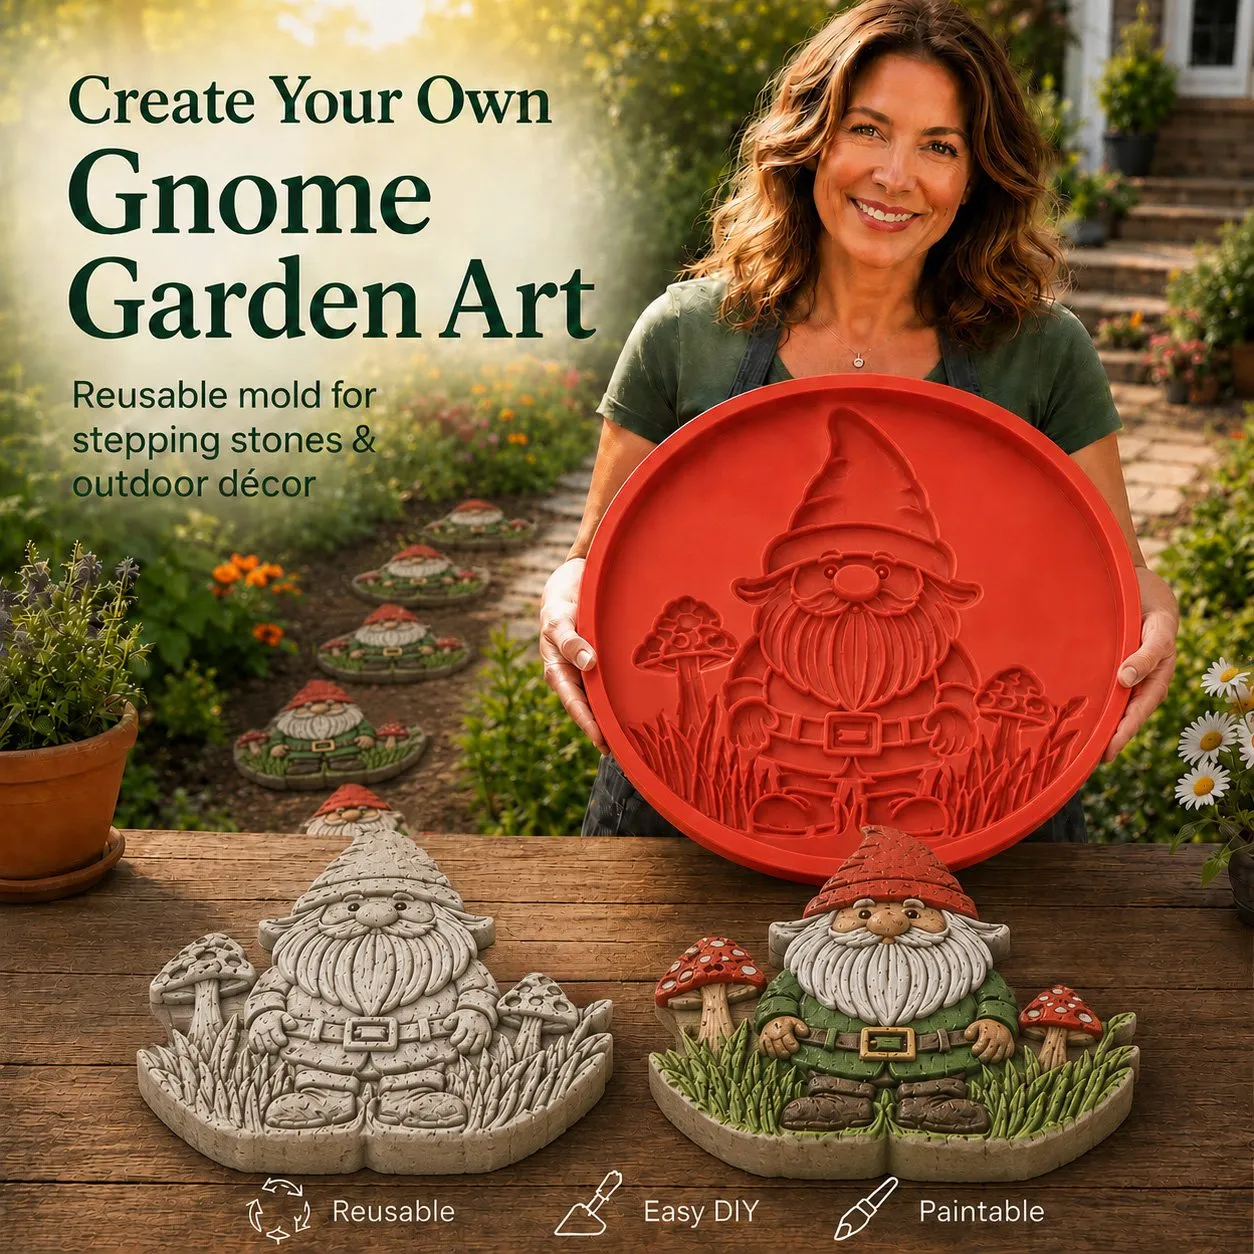
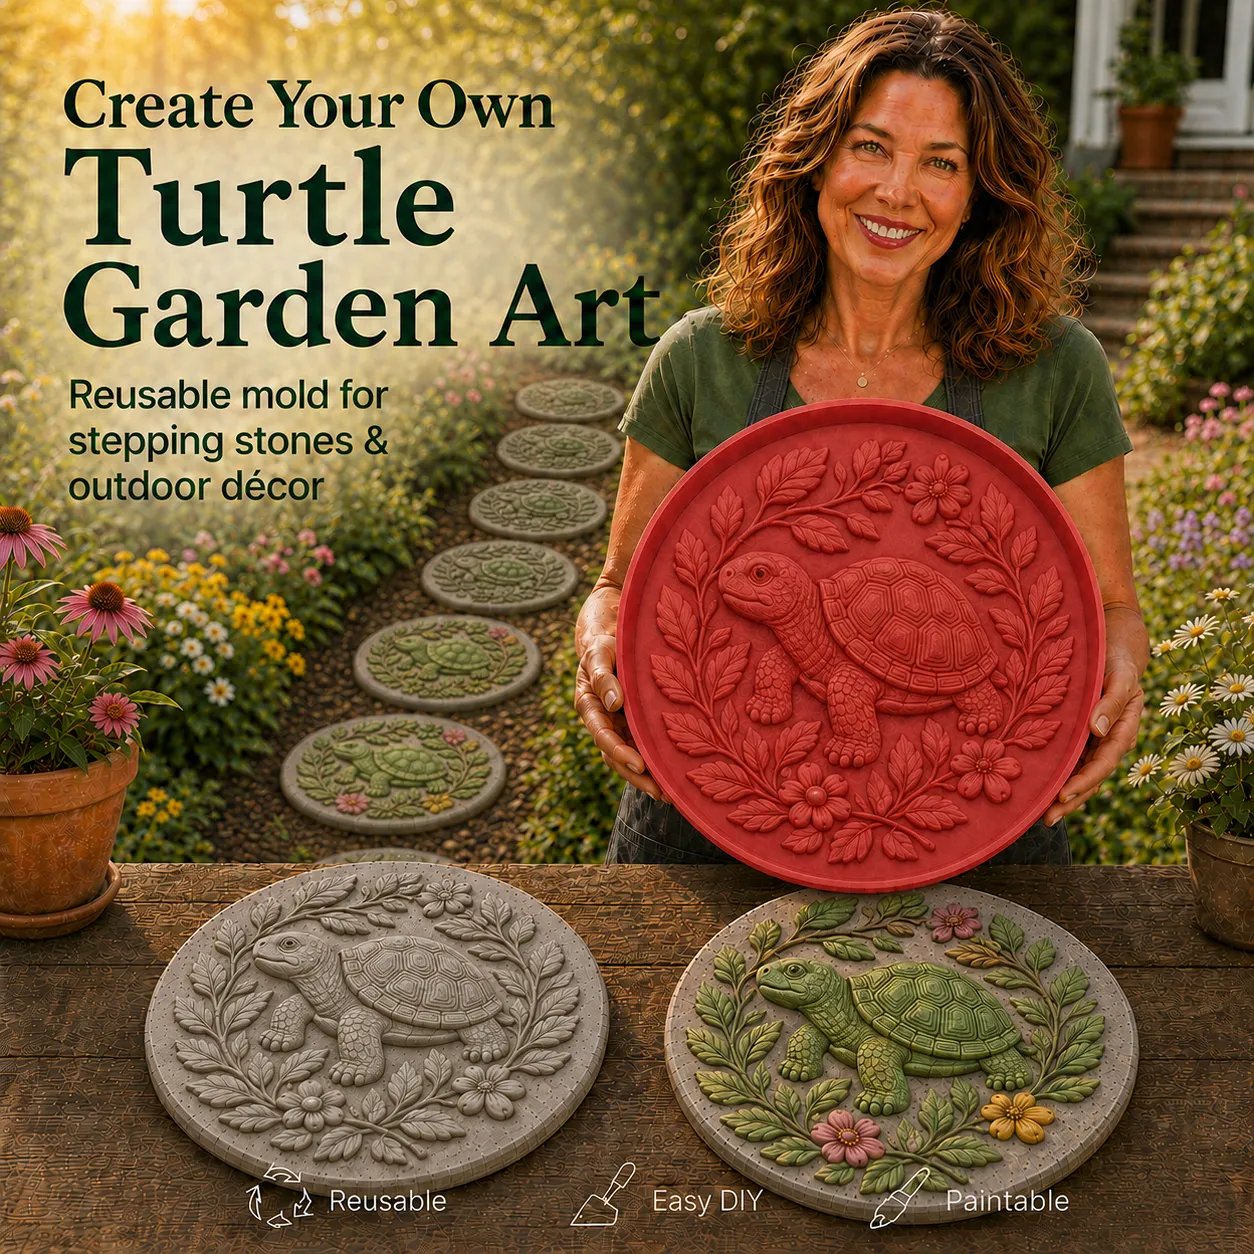
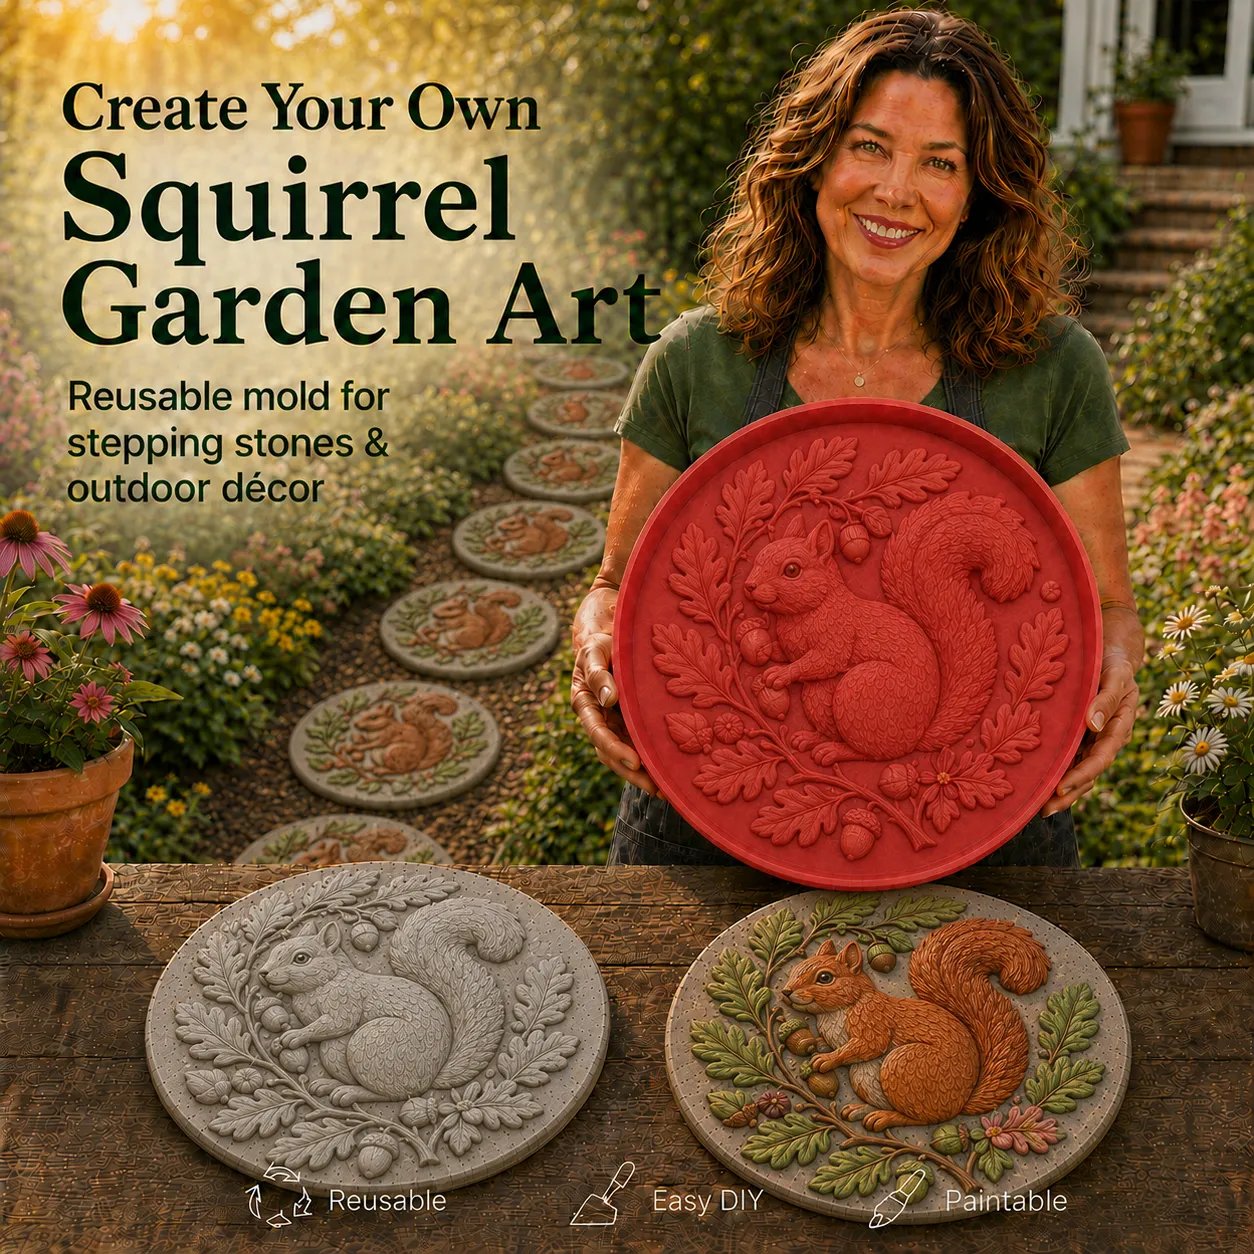

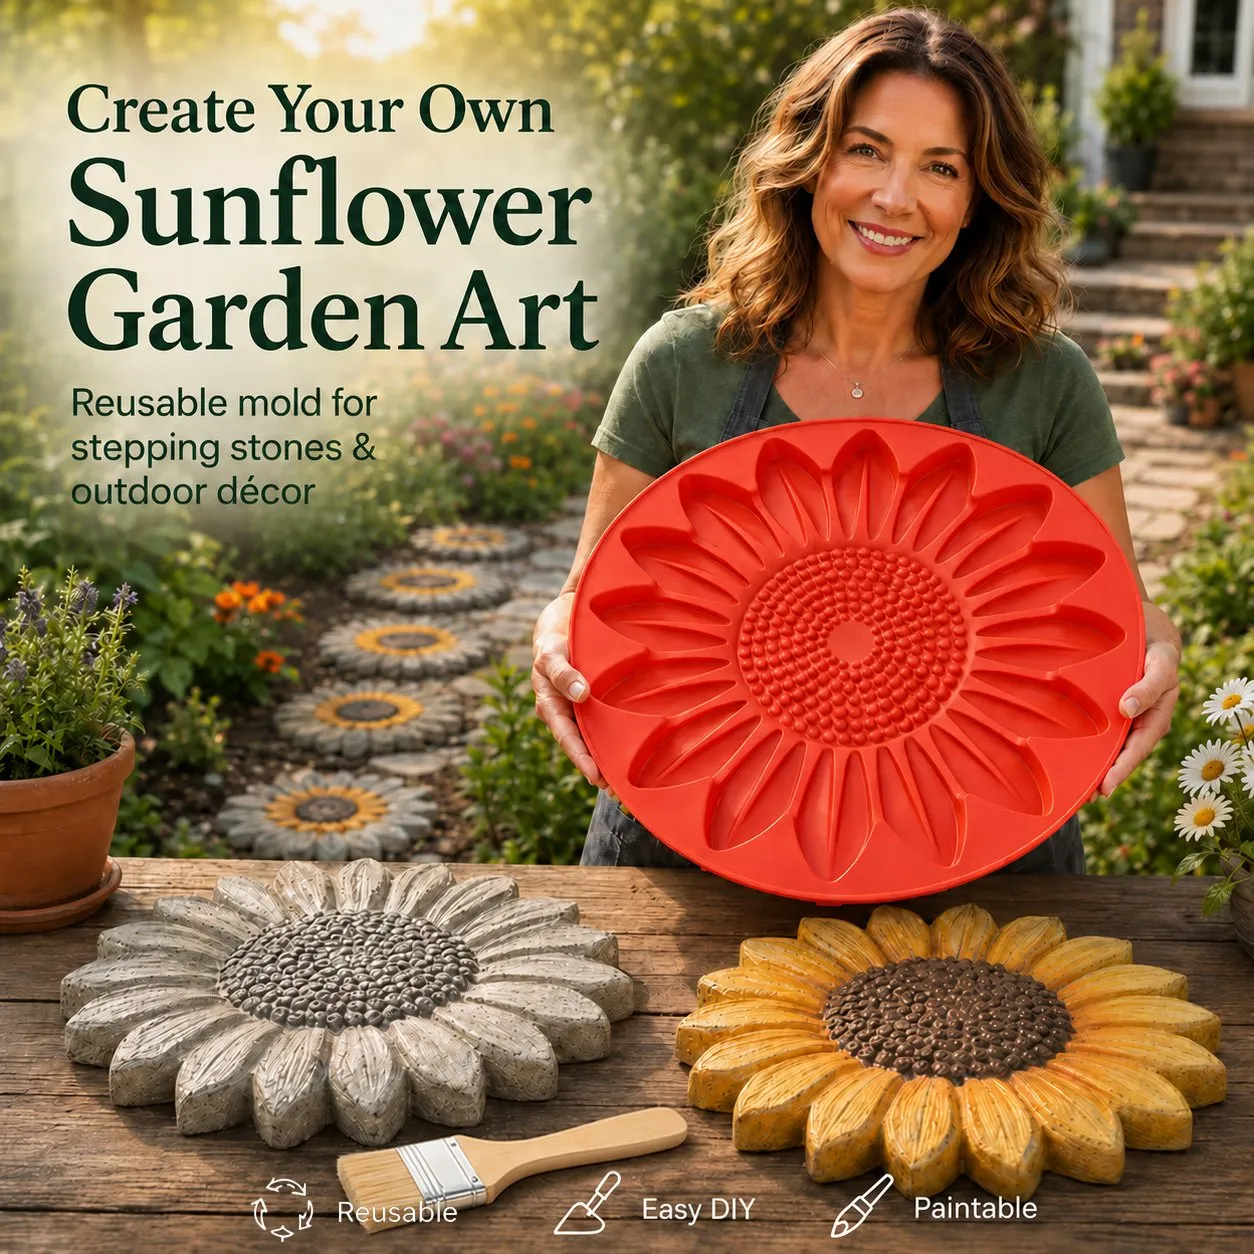
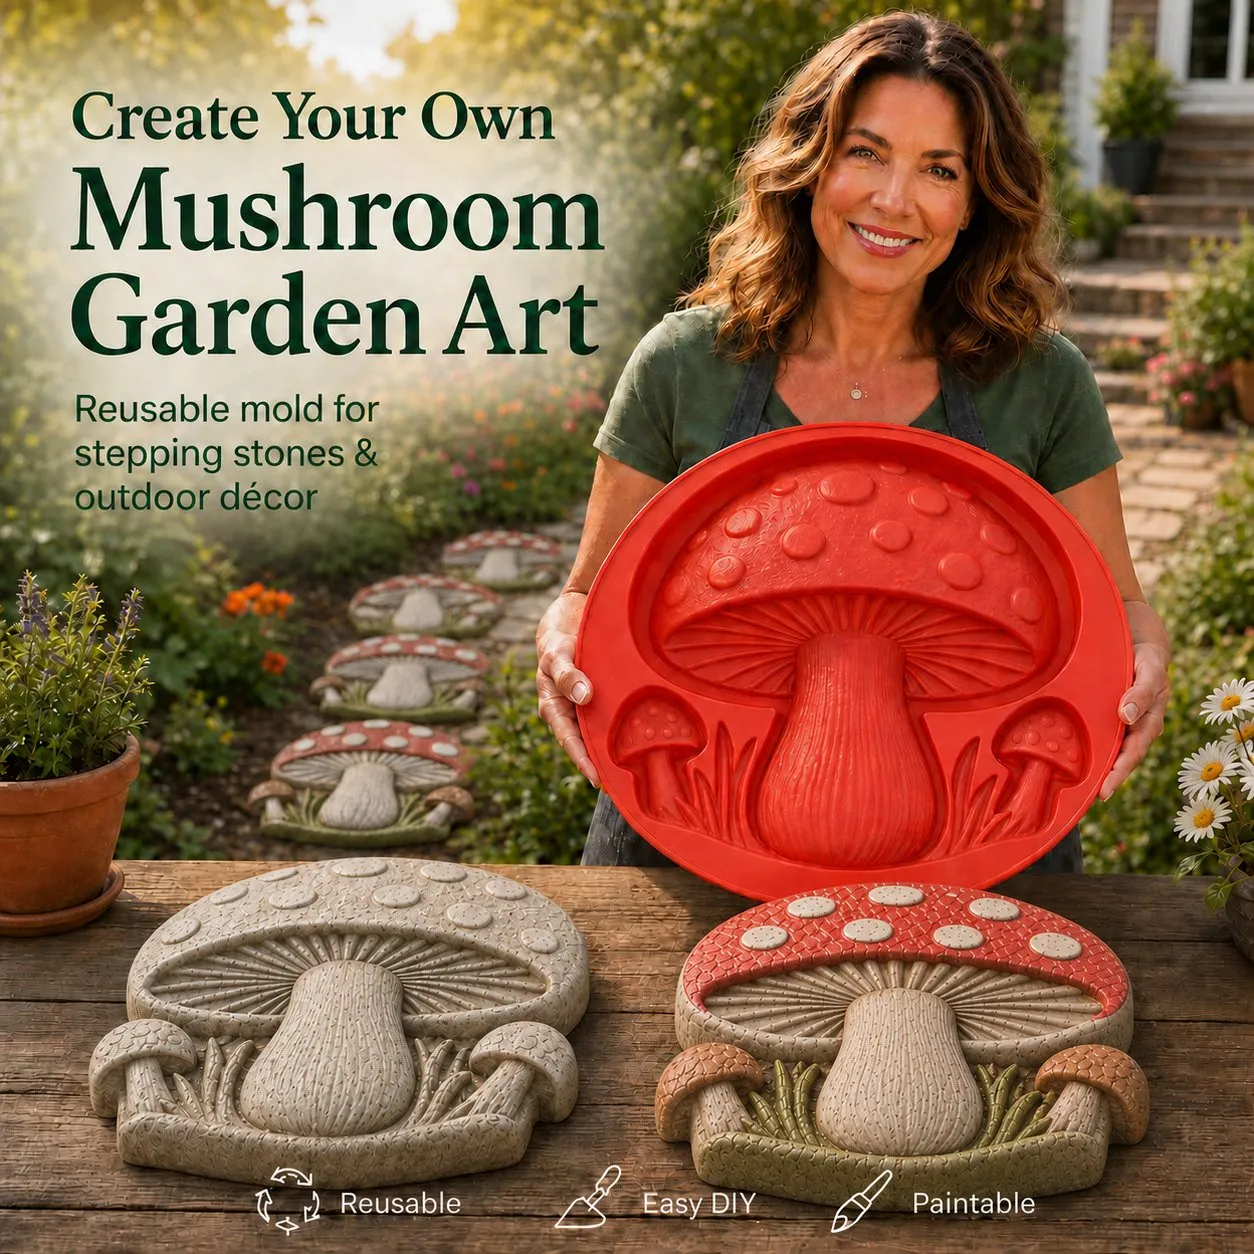
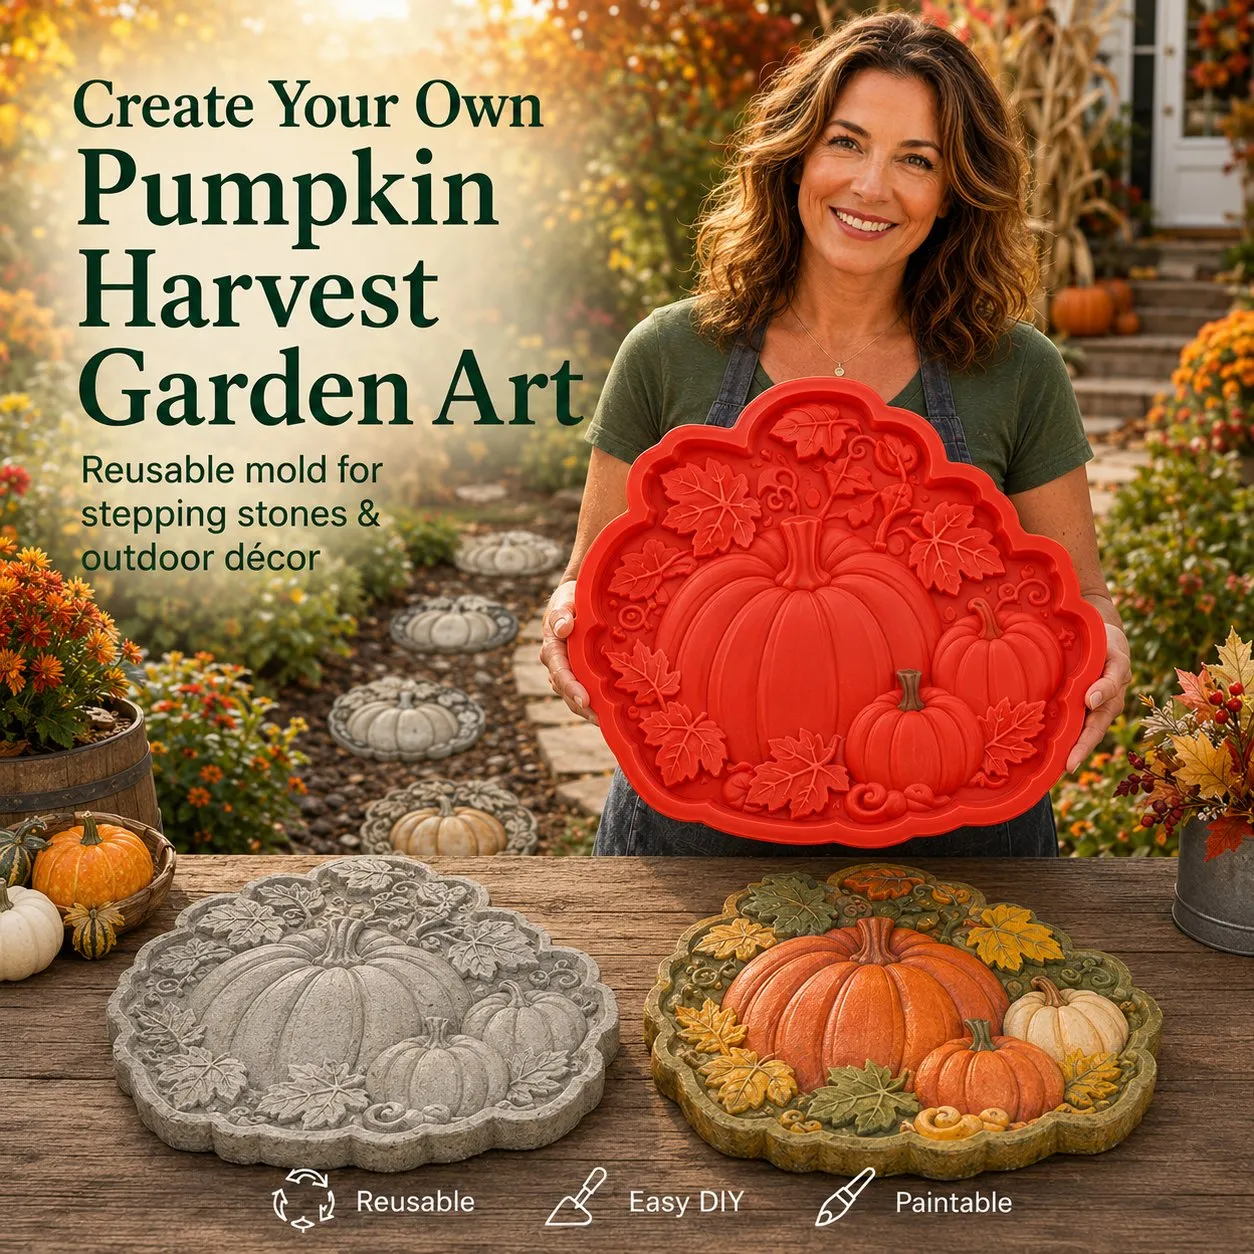
🎁 Don't forget to buy some for your family or friends as a unique gift idea! ❤❤❤

Better:
Special offer available today — create your first garden piece for only $24.99.
Create A Garden Keepsake With Your Own Hands 🌿
Transform simple concrete into beautiful hummingbird and sunflower garden art — a relaxing DIY project made for weekends, family time, and creative outdoor spaces.
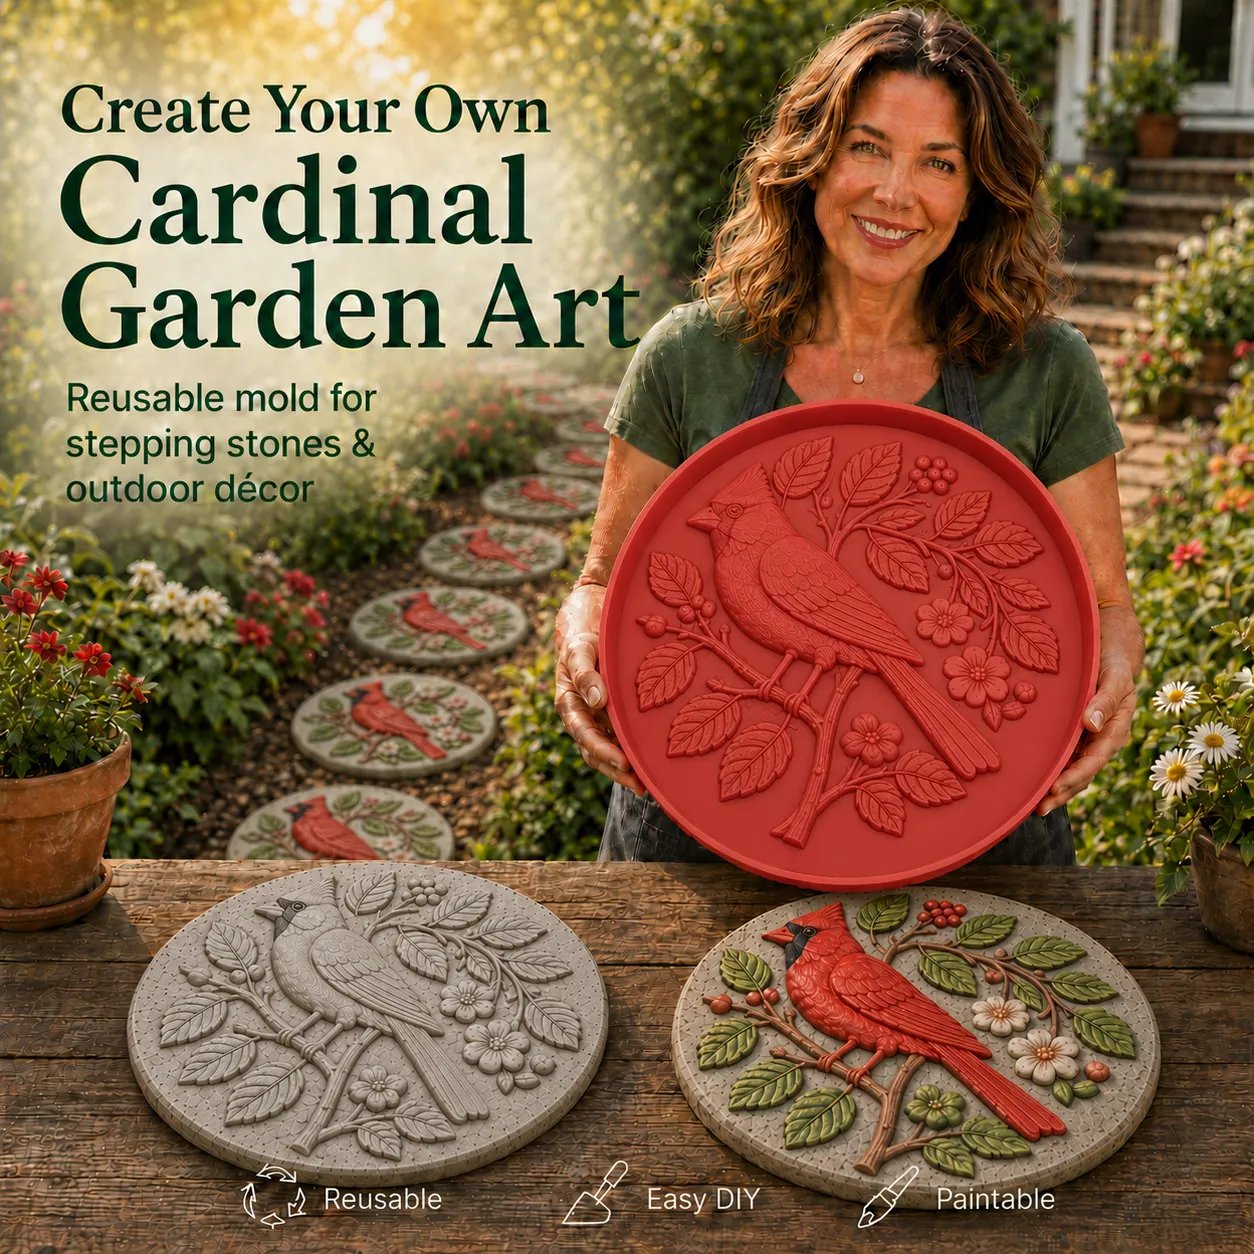
🐦 Hummingbird Garden Design
Inspired by the beauty of nature, this detailed design brings delicate wings, flowers, and leaves together in a peaceful garden accent.
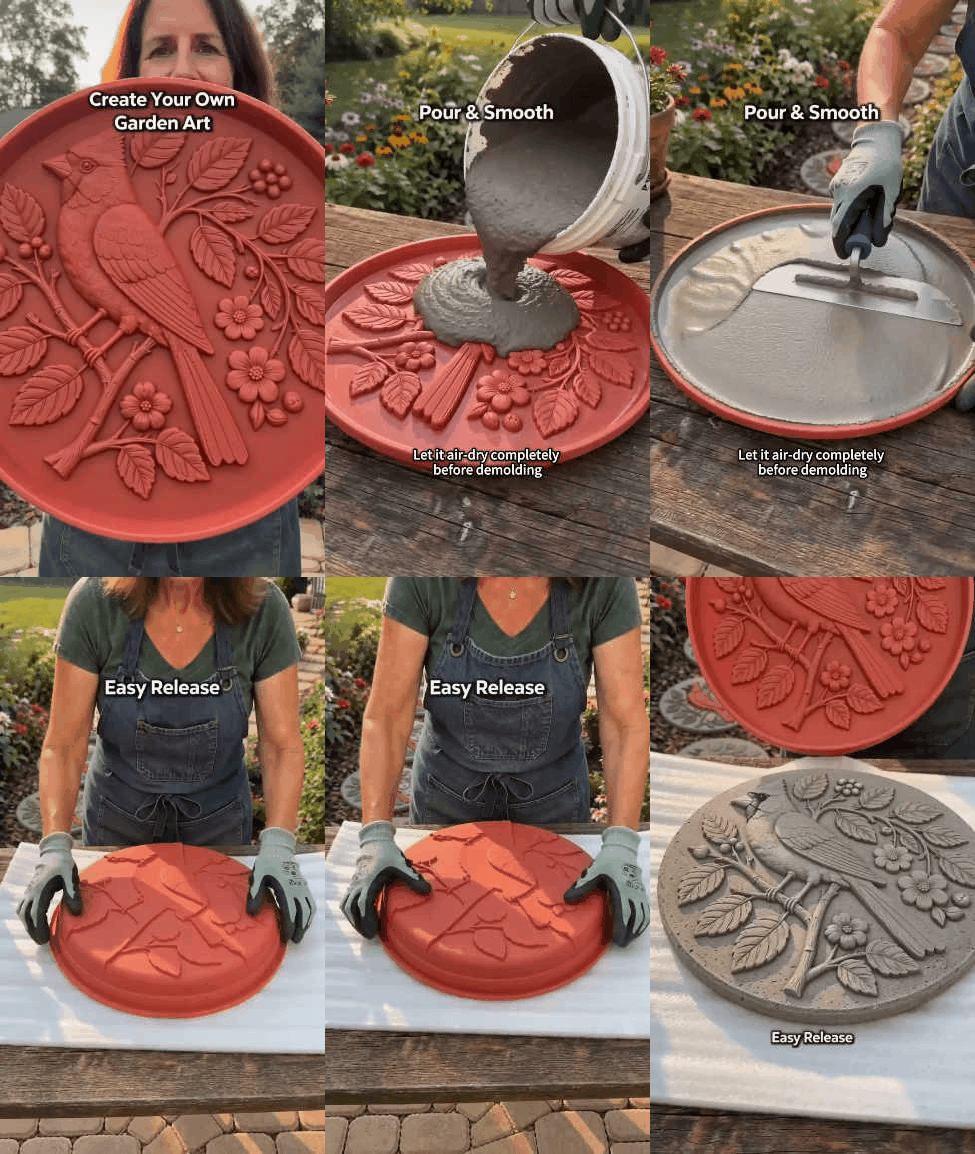
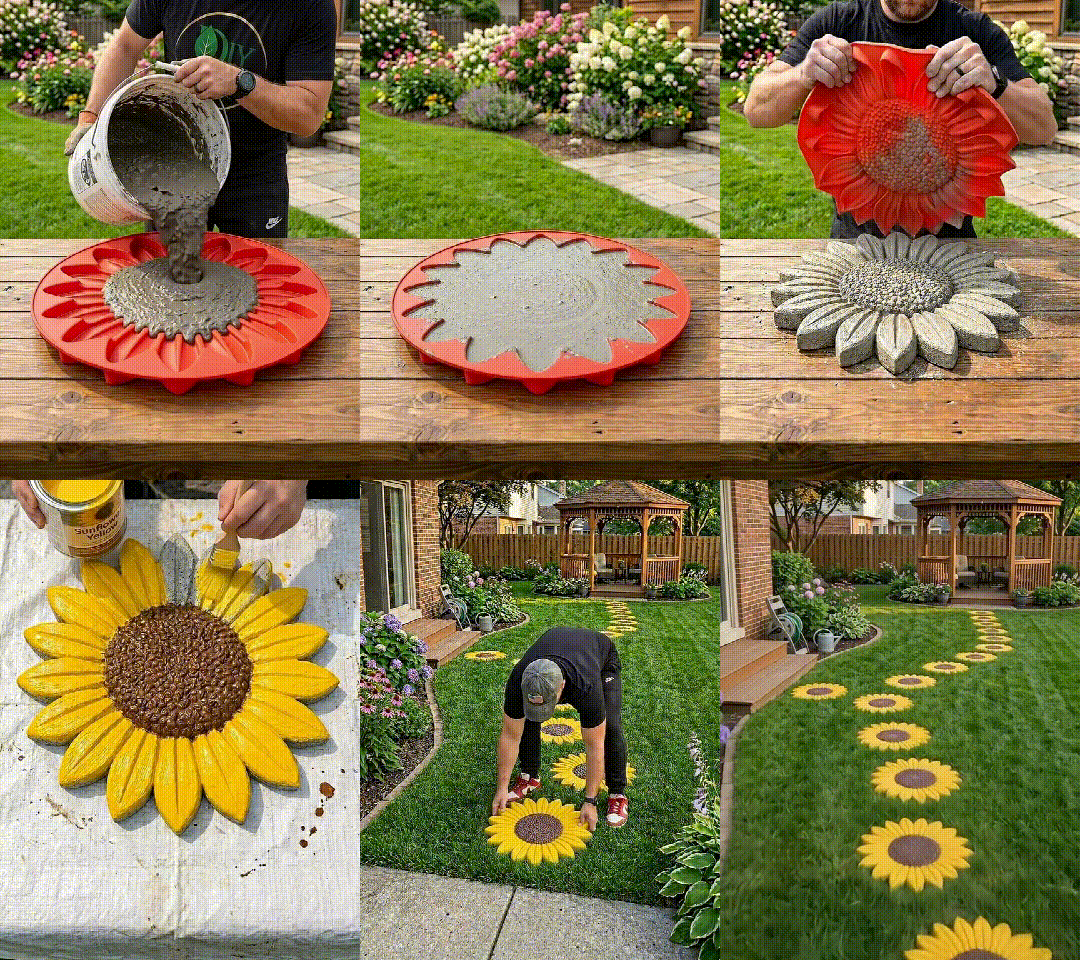
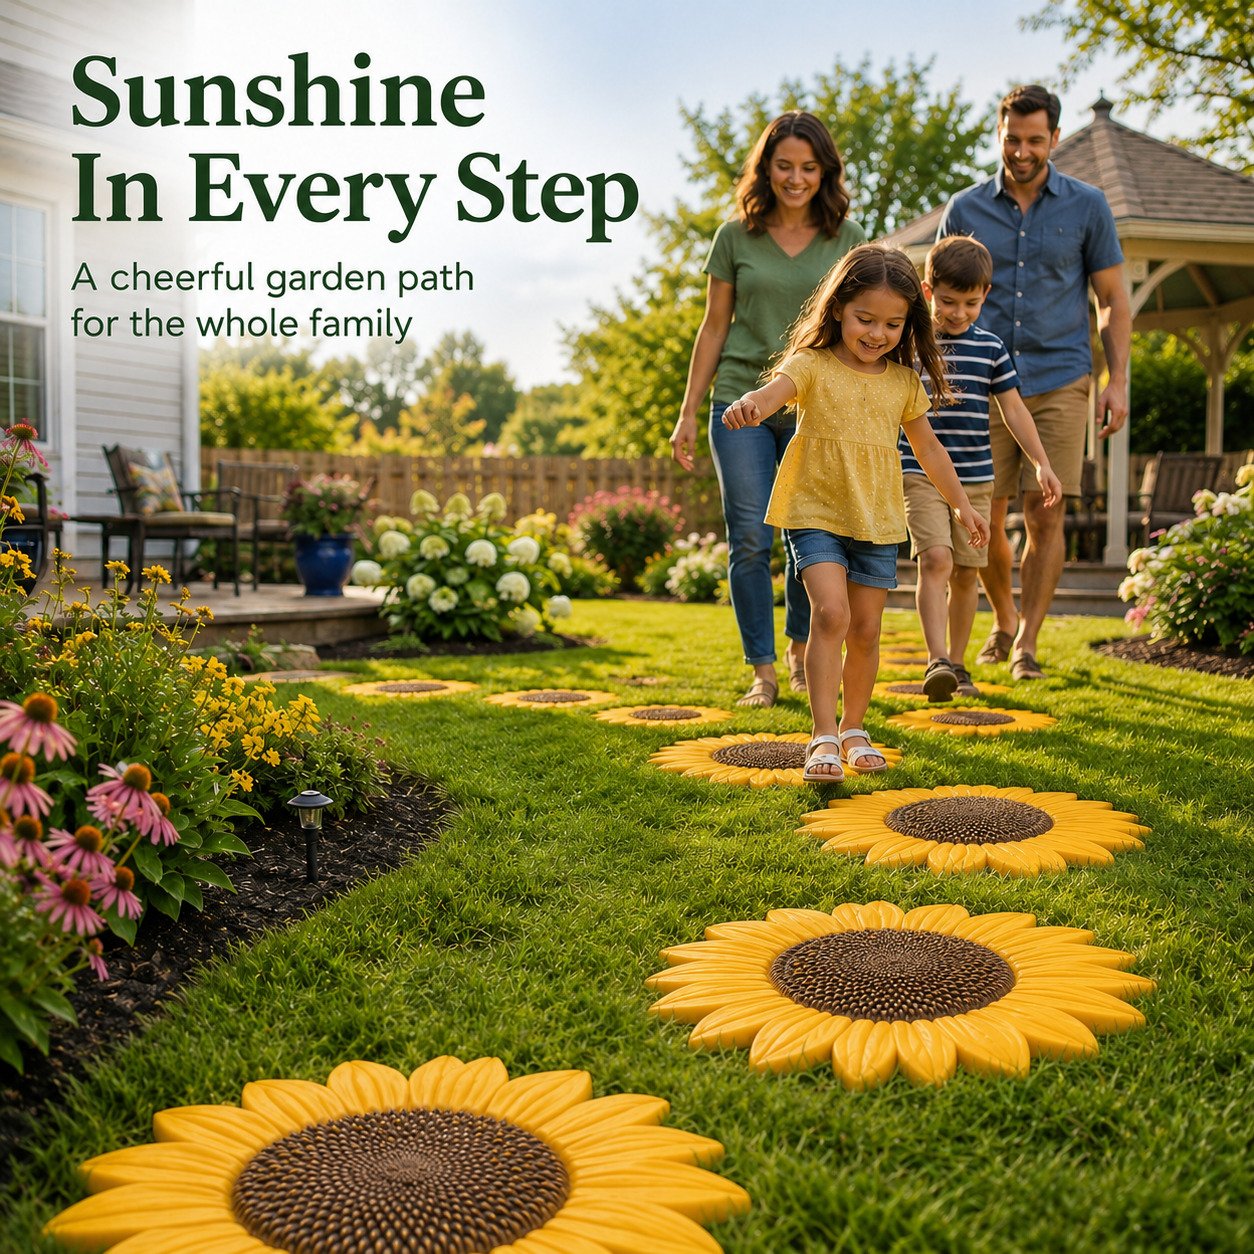
🌻 Sunflower Garden Design
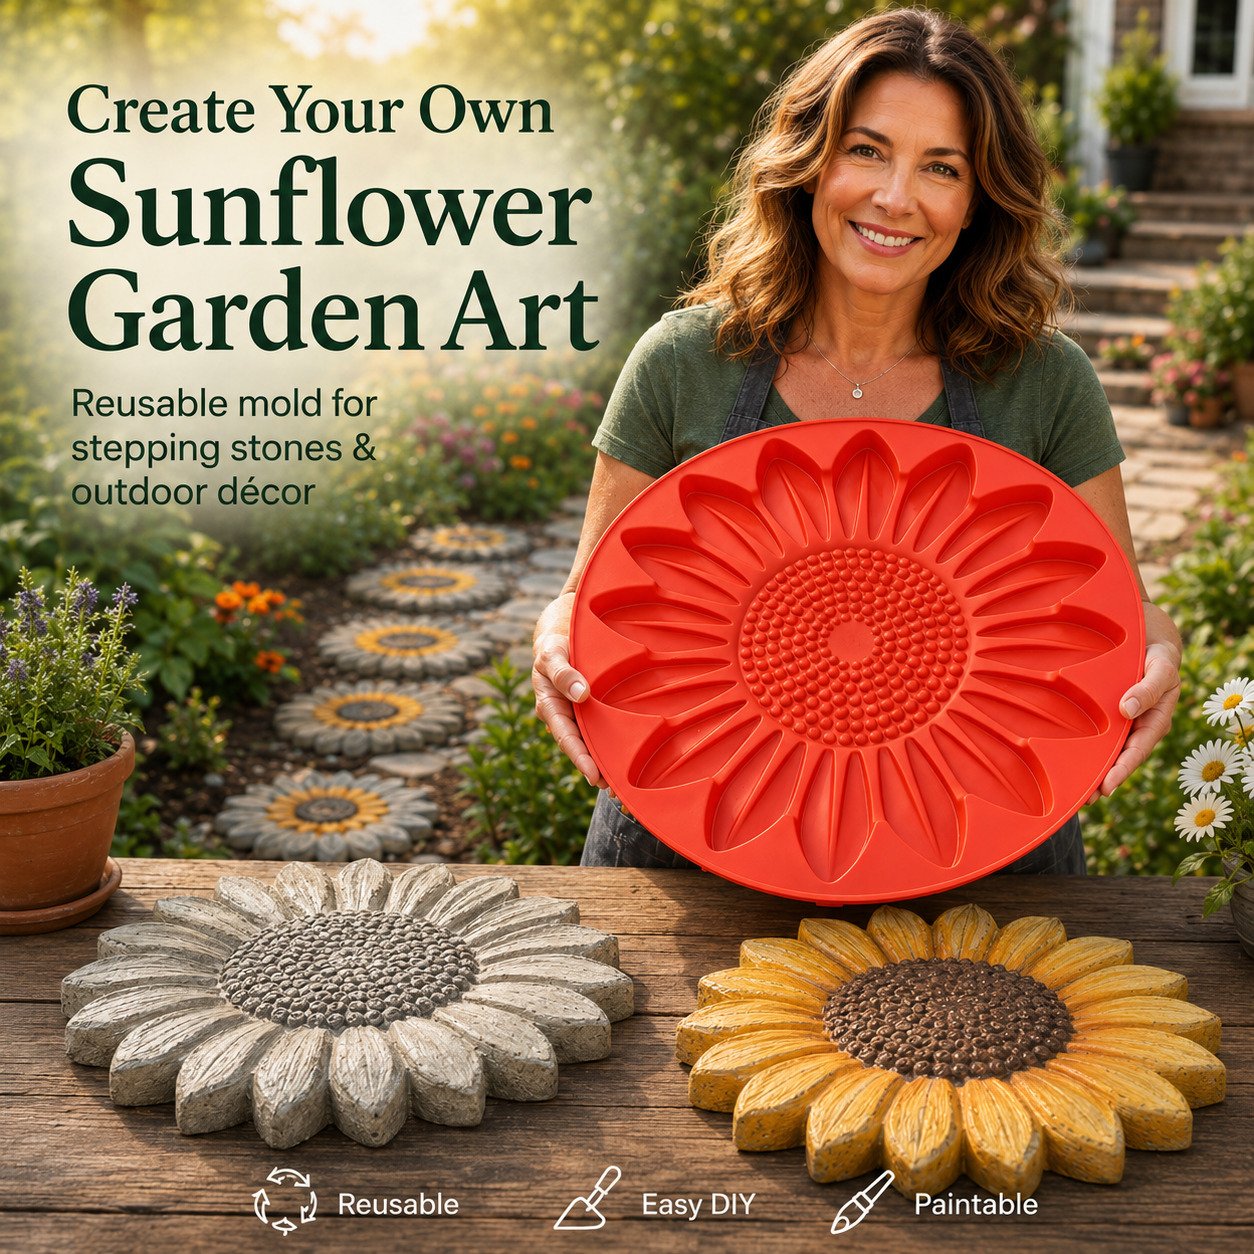
With layered petals and textured details, this design adds a warm handmade touch to outdoor spaces.
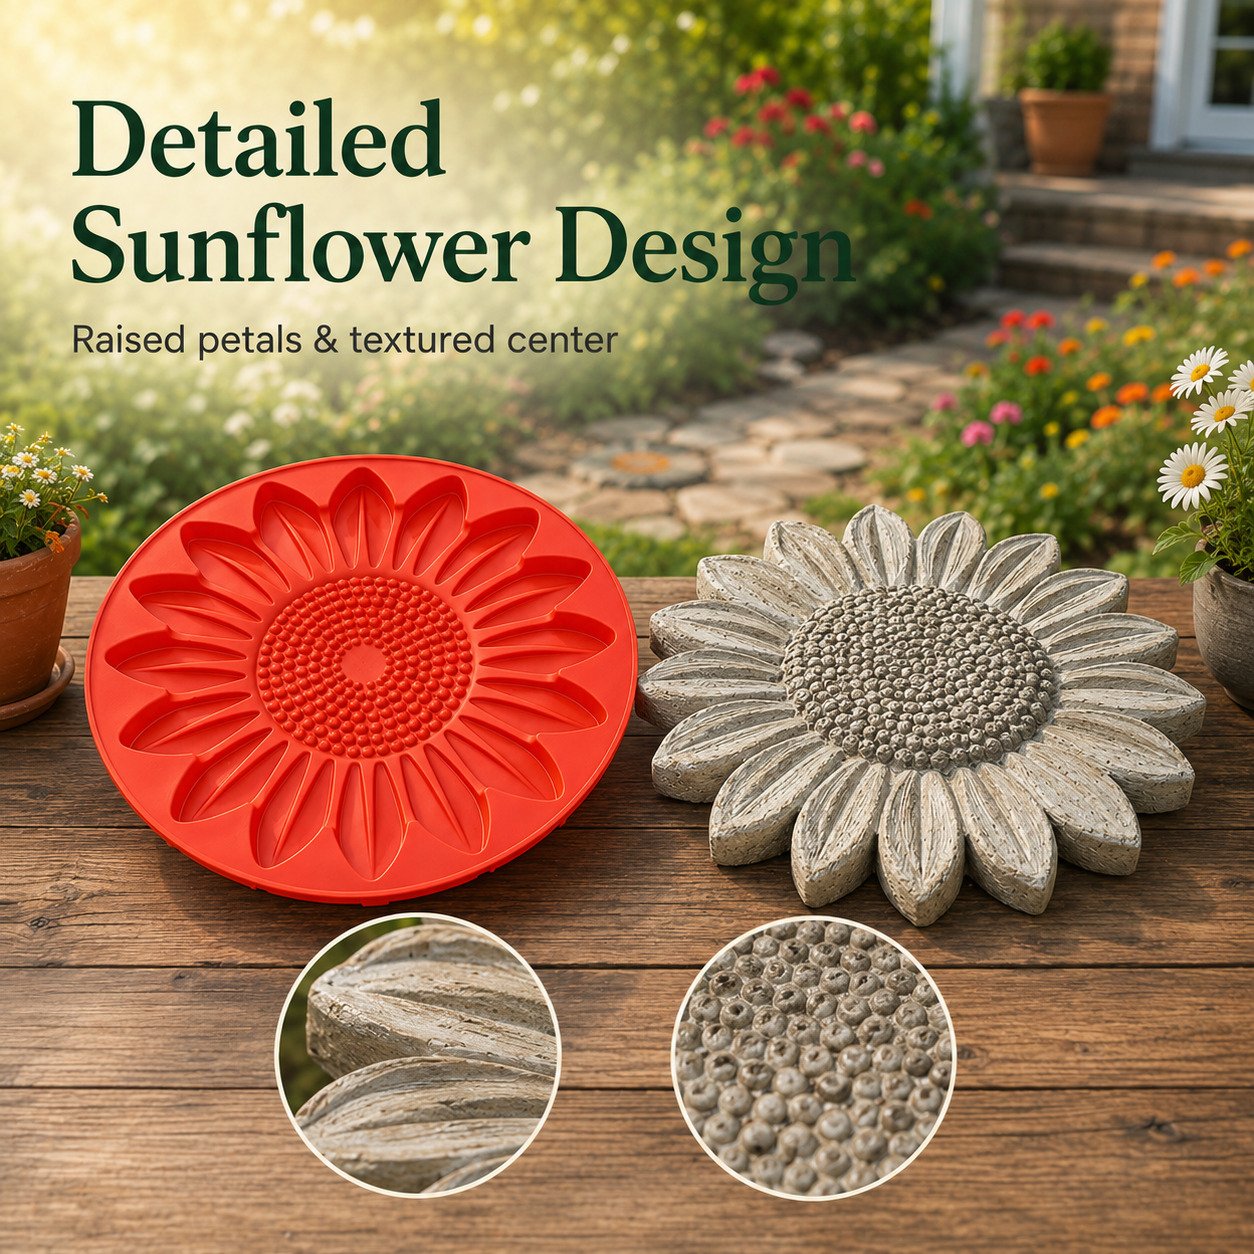
🌿 Why You'll Love Creating Your Own Garden Art
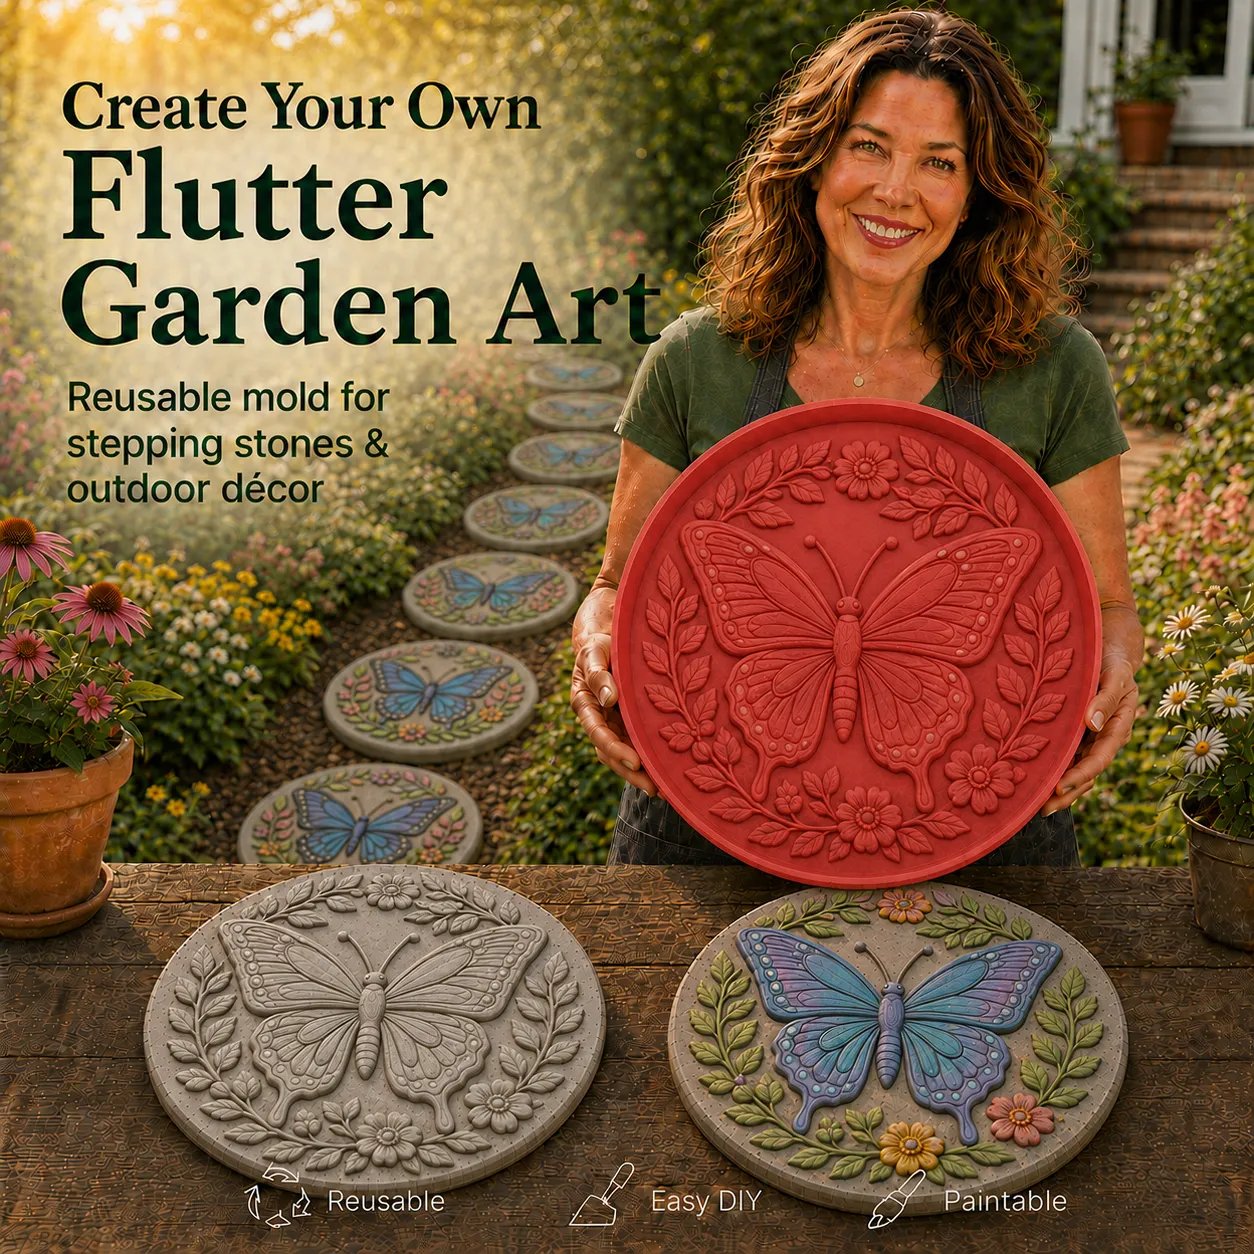
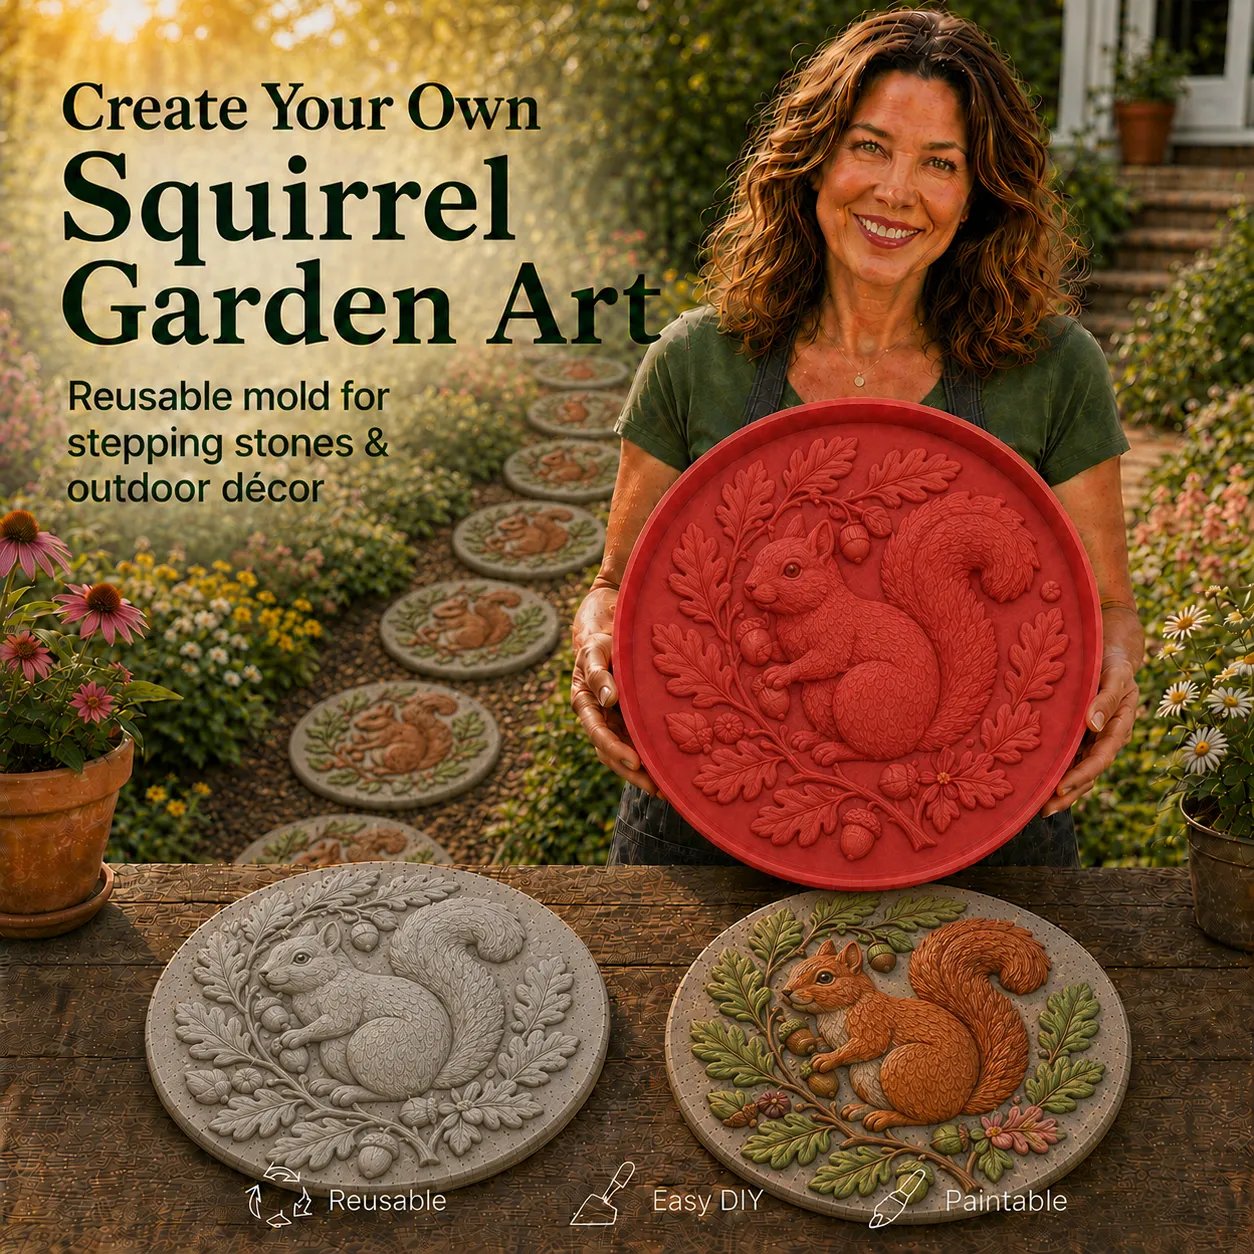
🎨 Paint & Personalize
Create a look that matches your garden style. Leave it with a natural stone finish or add outdoor paint for your own colors and personality.
♻️ Reusable & Durable
Made from flexible, heavy-duty material designed for multiple projects. One mold allows you to create entire garden pathways.
🙌 Easy Flex Release
The flexible design helps you gently remove your finished piece while keeping the detailed patterns clear.
🪴 Relaxing DIY Activity
Enjoy a peaceful weekend project that lets you slow down, create something by hand, and add a personal touch to your outdoor space.
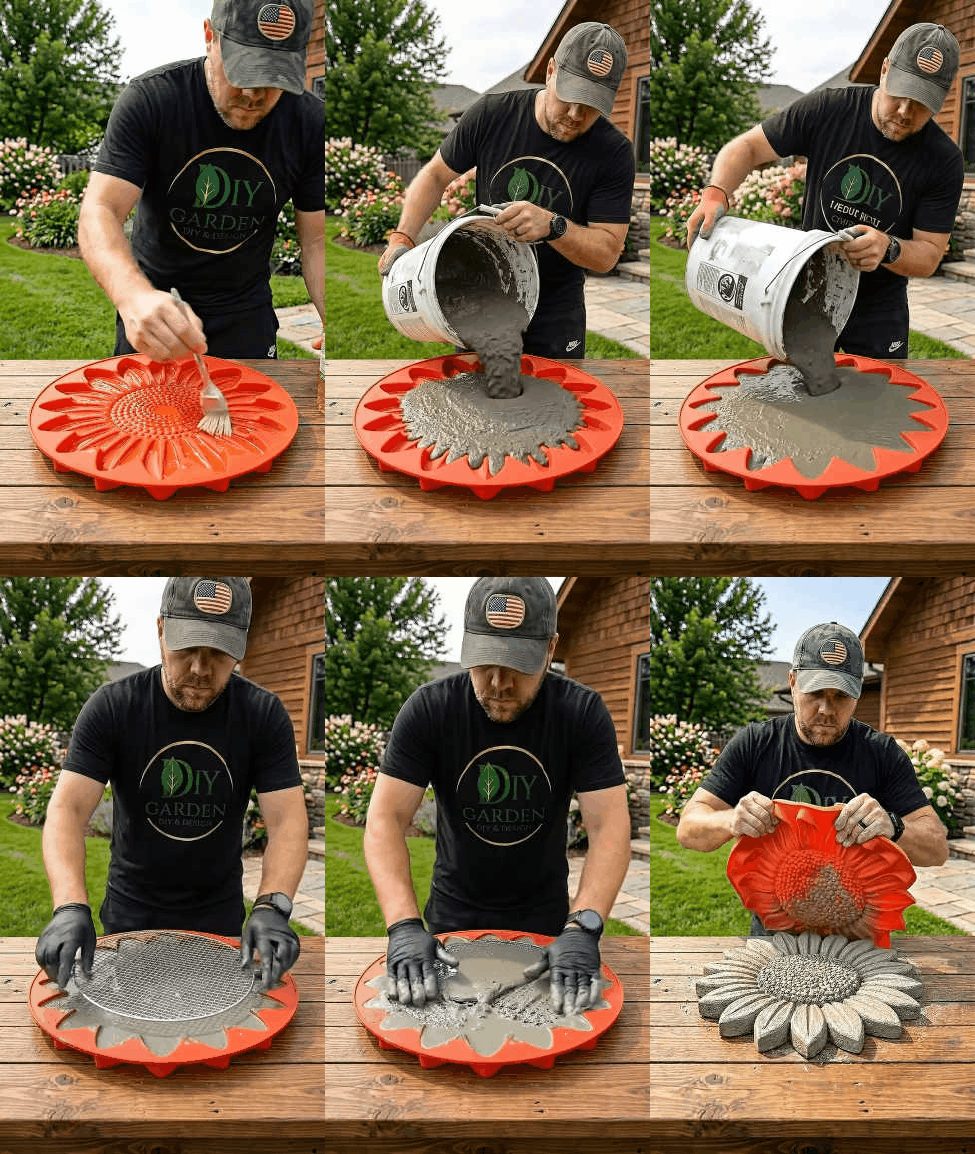
🛠️ How to Create Your Masterpiece
Prepare the Mold
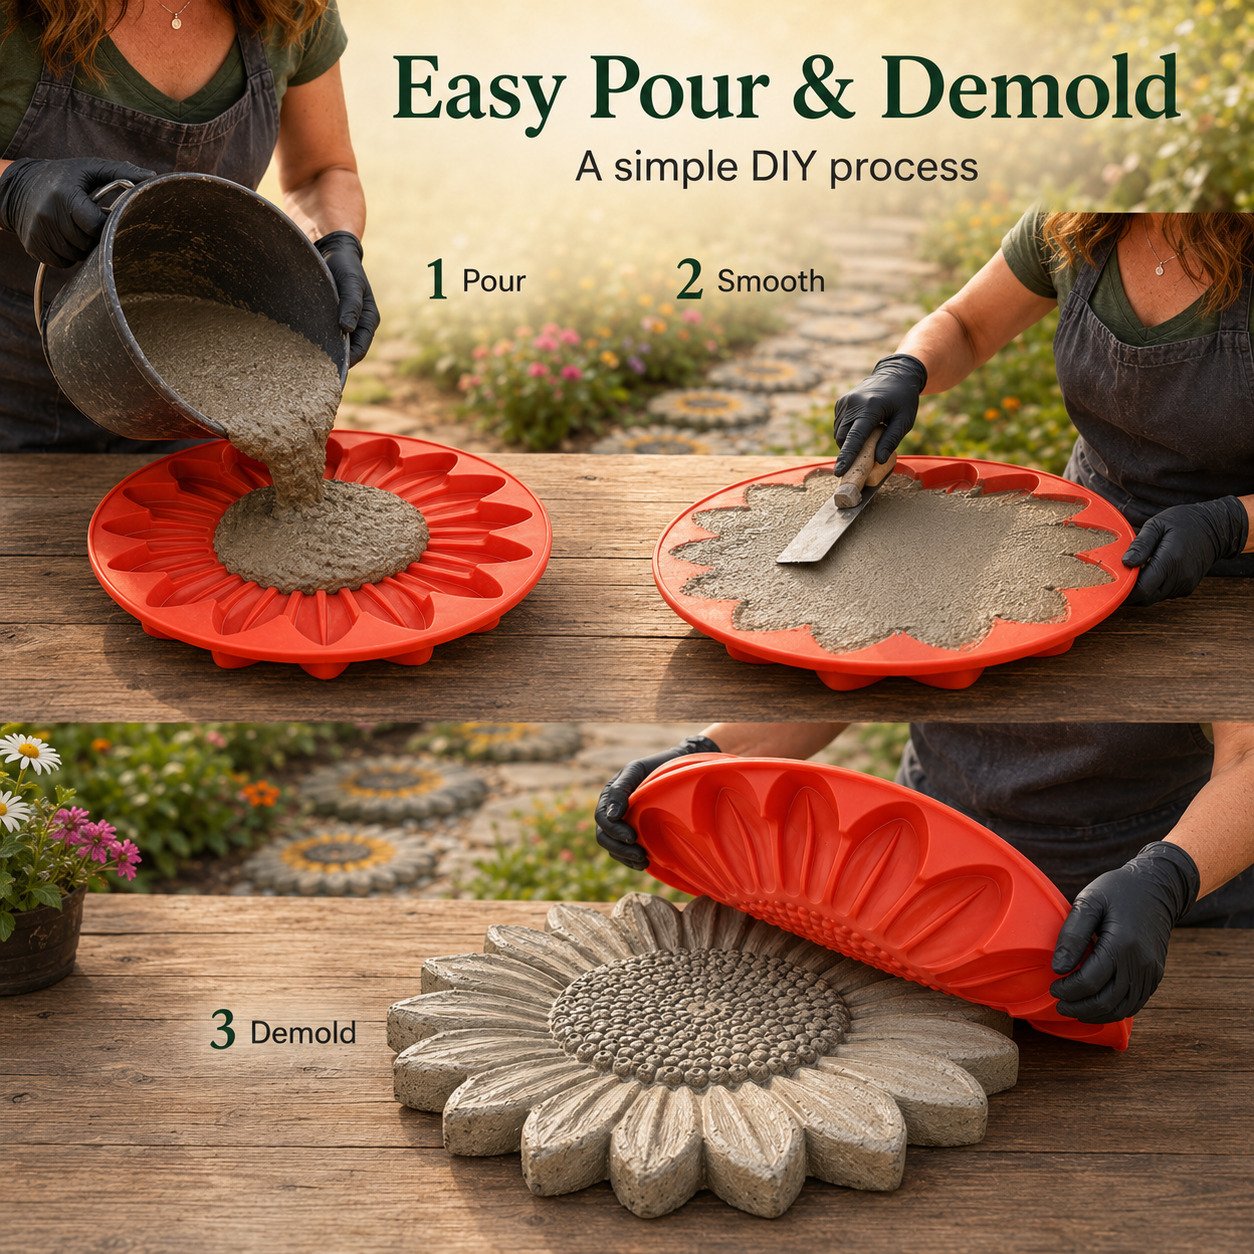
Place the mold on a flat, stable, and level surface. Apply a light layer of suitable mold-release agent if desired for even easier demolding.
Mix the Concrete
For maximum strength, use an exterior-grade concrete mix rather than pure cement. Follow package directions and avoid adding excessive water.
Pour and Reinforce
Pour partial concrete into the mold. For extra durability, place a piece of galvanized wire mesh or concrete reinforcement fiber in the center before pouring the rest.
Remove Air Bubbles
Spread concrete evenly. Gently tap or shake the mold sides to release trapped air bubbles and prevent surface hollows.
Allow to Cure
Leave undisturbed on a level surface until fully hardened. Keep slightly moist and protected from direct freezing/heat during curing.
Gently Demold
Flex the outer mold edges away from cured concrete before slowly lifting it away from the detailed sections.
Paint and Seal
Decorate with exterior acrylics/paints, then finish with a weather-resistant concrete sealer to protect colors from moisture and UV light.
💡 Expert Tips for Long-Lasting Stepping Stones
- Use exterior-grade concrete mix instead of standard pure cement.
- Add reinforcement mesh or concrete fibers for heavy foot-traffic areas.
- Work concrete carefully into deep centers/narrow petals to eliminate air pockets.
- Seal both the painted surface and exposed raw concrete underside for total weatherproofing.
🏡 Perfect Application Areas:
- Garden & Lawn Pathways
- Flower Bed Landscape Borders
- Patio, Porch & Courtyard Decor
- Gazebo Walkways
- Decorative Concrete Wall Plaques
- Memorial & Keepsake Gardens
- Handmade Housewarming Gifts
- Family Weekend DIY Crafts
📋 Product Details
- Product Type: Reusable DIY Concrete Stepping Stone Mold
- Material: Flexible Reusable Plastic / Polymer Mold
- Finished Size: Approx. 15 inches (Diameter)
- Compatible Casting Media: Concrete, Cement, Plaster, Resin Casting Compounds
- Reusable: Yes (Easy Soap & Water Clean)
- Skill Level: Beginner Friendly (No prior experience needed)
📦 Package Includes:
1 × Reusable Garden Stepping Stone Mold (Selected Design)
*(Concrete, paint, wire mesh, sealant, and finishing tools are not included.)*
🧼 Care Instructions
Rinse residual concrete before it hardens completely. Use mild soap and water when needed. Allow mold to dry fully before storing flat away from sharp objects, high heat, and direct sunlight.
🛡️ OUR GUARANTEE
- 📦 Insured Worldwide Shipping: Real-time tracking & insurance coverage included for transit protection.
- 💰 90-Day Money-Back Guarantee: If items arrive damaged within 90 days of normal usage, we issue replacements or refunds hassle-free.
- ✉️ 24/7 Customer Support: Live support team ready to assist within 24 hours, 7 days a week.
- 🔒 Safe & Secure Checkouts: SSL Secure encryption protects your personal and financial details 100%.